Happy Apple Tart
Lynley Jones
Cinnamon apples in a rustic galette-style crust.
We first created this recipe for a Thanksgiving-themed Time Warp Cooking class, and it's also featured in our Mostly Plants series.
Ingredients
Happy Apple Tart made in the Adventure Kitchen.
5 medium-sized baking apples such as Granny Smith, cut into 1/2-inch dice (see notes)
1 lemon
1/4 cup + 1 Tablespoon white sugar
1 Tablespoon flour, plus more for rolling out the dough
1/4 cup brown sugar
1 teaspoon cinnamon
Pinch of salt
1 disk pate brisee, cold (or store-bought pie crust)
1 Tablespoon cold unsalted butter
Instructions
1. Preheat the oven to 425 degrees with the rack in the middle position. Choose a bowl that's large enough to hold all the filling ingredients. Squeeze the lemon into the bowl and add the apples along 1/4 cup of the white sugar and 1 tablespoon of flour. Add the brown sugar, cinnamon and salt and stir to combine.
2. Roll out the pate brisee into a large rectangle, about 18 inches wide by 12 inches tall and 1/8 inch thick. Line a rimmed baking sheet with parchment paper and lay the pastry on the parchment. Keep the pastry cold while you are working, so that it's easier to work with later. If your kitchen is warm or the pastry seems to be getting sticky or warm for whatever reason, stick it in the fridge to chill for 15 minutes or so before moving on.
3. Use a slotted spoon to transfer the apple mixture into the middle of the pastry, leaving the fluid behind in the bowl. Leave a 3-inch border without apples all the way around the rectangle of pastry. Spread the apple chunks out to make sure they are an even height (ie, not piled up in a mountain). Cut the butter into small pieces and dot the apples with it.
4. Gently fold the pastry border up around the apples, so that the edges of the apples are covered with pastry, but most of the apples are still visible.

Apples, dotted with butter, in the center of the pastry.

Folding the pastry over the edges...

Ready to go into the oven!
5. Sprinkle the remaining 1 tablespoon of sugar evenly over the edges of the pastry, being careful not to spill too much onto the parchment (it will burn).
6. Slide the tart into the oven and bake for about 30 minutes, until the apples are bubbling and the pastry is golden brown and crisp. Let the tart rest on the baking sheet for 2-3 minutes, then slide it onto a rack to cool for another 10 minutes before serving.
Notes:
This tart is delicious by itself, and even better served with whipped cream, ice cream or Cajeta de Leche (Mexican caramel sauce), or whatever caramel sauce you might have on hand.
Also, the liquid left behind by the apples would make a GREAT sauce. I created a recipe for my online class How to Make Perfect Pie Crust Like a Boss that does something similar. Here's what I would do here:
Pour the liquid into a small saucepan, and throw in a couple sprigs of thyme or mint, or a cinnamon stick. Cover the pan askew and bring to a strong simmer. Remove the lid and simmer for about 3-5 minutes more, until the volume has reduced. As it cools, you'll notice it becomes a bit syrupy. Drizzle that over your finished tart, and I bet you'll be in heaven. (I'm literally drooling right now thinking about it. When can I finish typing and go try this myself?) :)
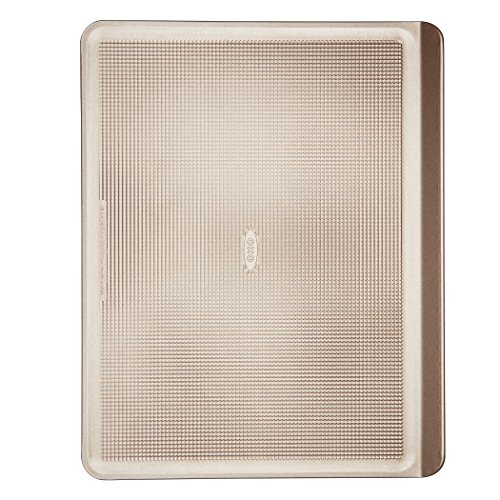
Finally, I shared with with my online class and want to share it here too - I have been using and LOVING this new pan from Oxo. It's non-stick and has little nubby bumps that lift the pastry off the surface of the sheet to let hot air circulate underneath, all of which makes for a super-crispy bottom crust. It's not in the pics above because I purchased it after creating this recipe, but now that I've discovered it, I hope I never have to bake another tart without it. Here's the link: