
Mexican Pinwheels
Lynley Jones
The flavors of Mexico, rolled into every bite.
Makes 1 pinwheel sandwich (adults and very hungry kids may want to double)
Ingredients
Mexican Pinwheels made in the Adventure Kitchen
1 whole grain or multigrain tortilla
Fresh cilantro leaves
1/2 an avocado, cut into thin slices
1 small tomato, cut into thin strips
Cooked chicken (preferably thighs), cut into thin strips (here’s a recipe for chicken)
Instructions
1. Lay the tortilla on a clean, flat work surface.

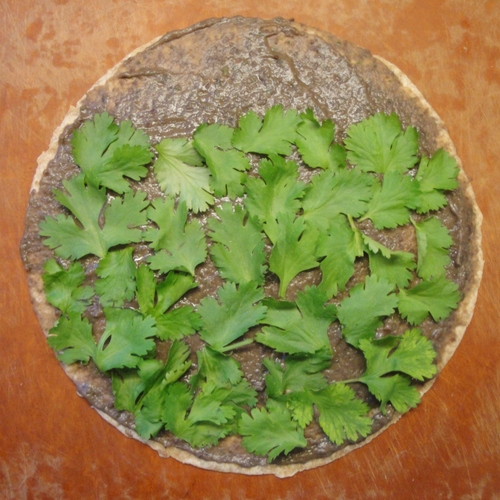
2. Use a spatula or the back of a large spoon to spread the Black Bean Spread over the whole surface of the tortilla.

3. Lay the cilantro leaves in one even layer over the bottom 3/4 of the tortilla.
4. Lay the sliced avocado horizontally in an even layer over the bottom 3/4 of the tortilla. (Horizontal will make it easier to roll up your pinwheel at the end.)

5. Lay the tomato slices horizontally in an even layer over the bottom 3/4 of the tortilla. (Horizontal will make it easier to roll up your pinwheel at the end.)

6. Lay the strips of chicken horizontally in an even layer over the bottom 3/4 of the tortilla.

7. You are ready to roll! Start where the ingredients go all the way to the end of the tortilla and begin to roll the tortilla up from the bottom, rolling all the ingredients inside as you go. A nice, tight roll will produce beautiful pinwheels.
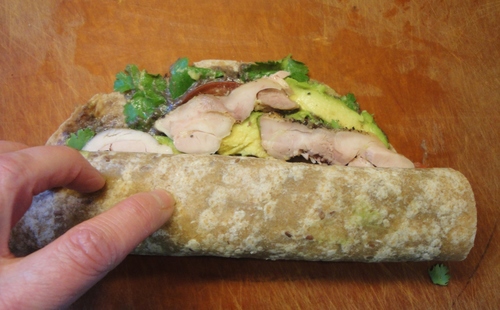
As you roll tightly, the ingredients will squish toward the far end.
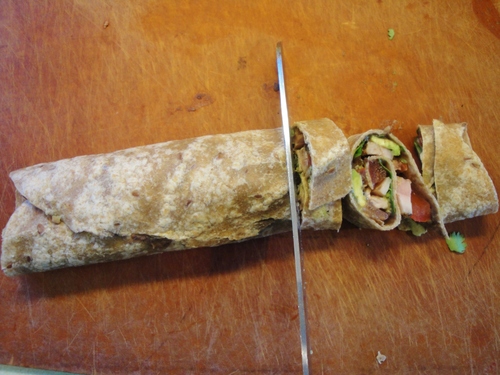
8. When you have finished rolling, lay the roll with the seam on the bottom. Choose a serrated knife (with a jagged edge) to make slices crosswise all the way through the roll, about an inch wide. To make beautiful pinwheels, gently but steadily draw the knife back and forth over the roll, allowing it to fall through the layers as it goes. (If you press too hard while cutting through, you may smash everything together rather than making pretty pinwheels.)
9. Carefully lay the slices on their sides on the plate to serve.

The finished product!
Notes:
I originally created this recipe for a class called Make Your Own Lunch, which I taught after school for 3rd-5th graders at a local elementary school. The step-by-step photos and instructions can hopefully help your child make her/his own lunch, too!
(When I make this for myself, one recipe is enough for a light lunch, especially if I also have a salad or something on the side. But if I’m very hungry, I’ll make two.)